Last week Microsoft announced the availability of the Azure Usage and Billing Insights (AUBI) Portal.
- https://azure.microsoft.com/en-us/blog/announcing-the-release-of-the-azure-usage-and-billing-portal/
A setup guide is provided on the GitHub repository.
So what is the intention of this blog post? Well as you may know I am working for Microsoft and that said I do not like to deploy an Azure AD application to the default directory. There is also a hint in the setup guide for this situation.
Azure Default or new Active directory (AD) (for Microsoft FTE subscriptions, it is required to create a new AD)
That is why I am writing this blog post on how to deploy the AUBI portal for demo purposes. What is behind this?
First creating a new Azure AD in which I will deploy the required Azure AD application. Second deploying the AUBI components in my Azure subscription, which is associated with my default directory.
The advantage of the separate Azure AD is full control over the AUBI solution. Users which are not part of the new Azure AD and are not allowed to use the Azure AD application cannot sign in into the AUBI solution. I will explain the reason for that at the end of this blog post.
When I would use the default directory? For production, because then my whole company should be able to use it or at least specific designated people.
Before we will start, I would like to point out that I have modified the PowerShell setup script and the ARM template. You can find the files on my GitHub repository.
The main difference is the ARM template parameter file. Another important part are the Application Insights components. They can be currently deployed only in Central US, because Application Insights is in preview. But I have that covered in my modified ARM template and some other changes regarding the usage of the latest API version.
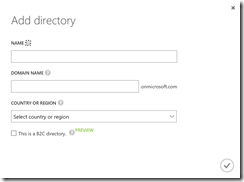
The first step we will start with, is to create a new Azure AD in our subscription. For this we have to use the old Azure portal (https://manage.windowsazure.com).
After we have successfully created our new AAD, we will now add a new AAD application to it.
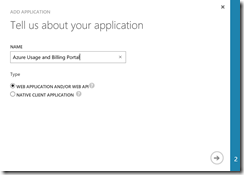
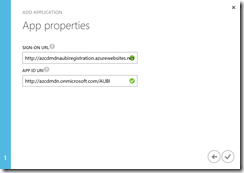
As the name I have choosen “Azure Usage and Billing Portal” and the type has to be “Web Application and/or Web API”. The sign-on URL will be the address of our registration website. Per default all Azure App Services will use azurewebsites.net as default domain. So it is important that you write down your website name, because you will use it in the ARM template later. The app ID URI should be in the following format “http://{AAD default domain address}/{custom name}”. Have a look at the screenshots.
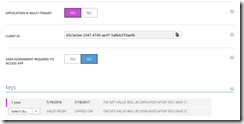
Afterwards go into the AAD application settings and hit the button configure. Turn on that the application is multi-tenant and also generate a key. Write down the key, because we will need it later, when we configure the AUBI solution. The same goes for the client ID.
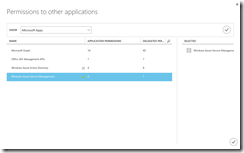
The final step is to set the right permissions for the AAD application. The Windows Azure Active Directory permission is already inplace, so we just have to add the Windows Azure Service Management permission. There we set the one and only delegated permission.
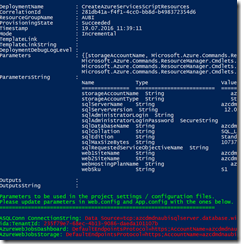
Now we are ready to kick off the deployment of the AUBI components. Before you do that, you should customize the ARM template parameter file and the resource group name variable in the PowerShell setup script. When everything went well, you should see the following output on your PowerShell console. Copy the green and red part to Notepad. We will need that later.
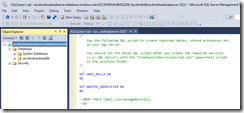
Log into the Azure portal and add your client IP address to the firewall settings of your Azure SQL server. After that connect to the Azure SQL database with the SQL Management Studio or Visual Studio and execute the SQL script against the database. The SQL script can be found under the project’s GitHub repository.
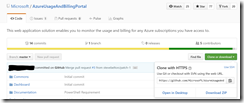
Next step is to download the project from GitHub. You can use your favorite browser for that and click on “Clone or Download”.
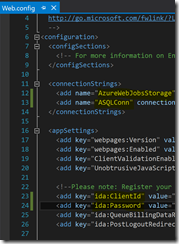
Extract the ZIP file and open the AUI.sln in Visual Studio. Now open the Web.config file under Registration and enter your values for the yellow marked items.
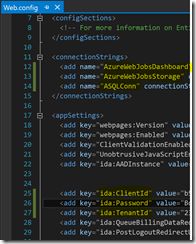
The same will be done for the Web.config file under Dashboard.
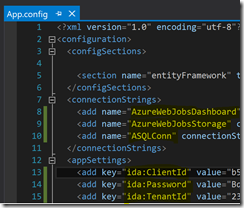
Moving forward to the App.config file under WebJobBillingData you have to do the same again.
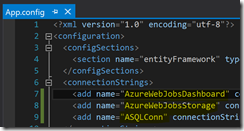
Last but not least, do the same again for the App.config file under WebJobUsageDaily.
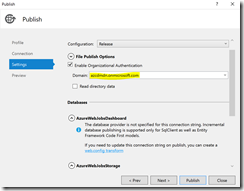
You can now follow the instructions in the original setup guide to publish the project to your Azure App Services. When publishing the Dashboard make sure you select the new AAD domain as domain for the organizational authentication.
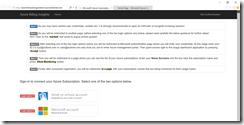
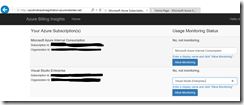
After successfully publishing the AUBI solution to Azure, open the registration website first. Sign in with your organizational account, accept the permissions request and enable the monitoring for your subscriptions. When you enable the monitoring, the AAD application will be added as a Reader role to your subscription. That is important to gather all necessary information about the Azure services running under your subscription.
Now open the dashboard website and sign in with your organizational account. Accept the permissions request and you should see that the data generation status is already completed.
For the PowerBi integration follow the original setup guide on GitHub.
The AUBI solution is now ready for your daily usage or demonstration purposes.
In the end I would like to point out something, I have already mentioned in the beginning of this blog post.
The advantage of the separate Azure AD is full control over the AUBI solution. Users which are not part of the new Azure AD and are not allowed to use the Azure AD application cannot sign in into the AUBI solution.
It is very important to explicitly allow the usage of the AAD application! Otherwise everyone who can sign into the dashboard website will see every monitored subscription. Per default this setting is not turned on in the AAD application configuration.
Just activate the setting “User assignment required to access app” in the configuration of the AAD application. This setting has to be activated then on both AAD applications for registration and the dashboard.
Now you have to explicitly add the user to the AAD first and then assign them to the AAD application. Only after these steps, the user gains access the AUBI solution.

