And again just a longer post for a deployment tweak. When you are deploying the SQL Resource Provider on your Azure Stack installation you have to consider some requirements and stumbling blocks.
First point is an Windows Server 2012 R2 image with .NET Framework 3.5 enabled, that is needed for the deployment.
The official guide points us into the right direction, but we do not have to create a new VM. Very important is the fact that we need an Windows Server 2012 R2 image that can be run with Generation 1 VMs. Do not use an image that can be run with Generation 2 VMs. That will not work!
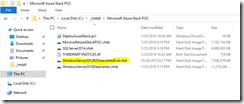
Ok. Let us start. Establish a RDP connection to the Azure Stack Hyper-V host and copy the Windows Server 2012 R2 image, that is included in the installation media, to another folder.
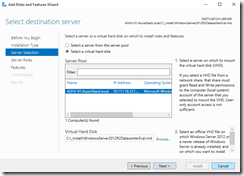
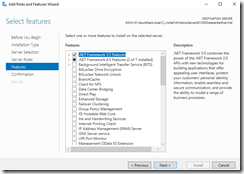
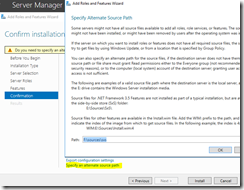
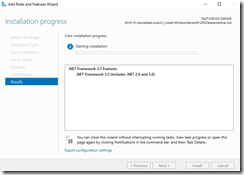
Then we jump into the Server Manager and starting the “Add Roles and Features Wizard”. What we need in addition to the image is a Windows Server 2012 R2 ISO media, that will be mounted in our example under the drive letter F:.
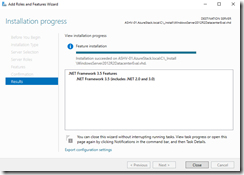
After some minutes the .NET Framework 3.5 is successfully installed.
Next step is to rename the image, so we can easily identify that this is our .NET Framework 3.5 image. Afterwards we will upload the image into the Azure Stack Platform Image Repository.
CopyImageToPlatformImageRepository.ps1 -PlatformImageRespositoryPath '\\SOFSShareCRPPlatformImages' -ImagePath 'C:\_Install\WindowsServer2012R2-35.vhd' -Publisher 'MicrosoftWindowsServer' -Offer 'WindowsServer' -Sku '2012-R2-Datacenter-35' -Version '1.0.0' -OsType 'Windows'
Before we kick off the SQL RP deployment, we have to modify some additional parts in the following JSON files beside the changes which are mentioned in the documentation.
- InstallSqlRpComplete.json
- InstallSqlRpPackage.json
- InstallSqlRpWin.json
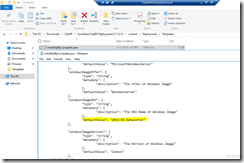
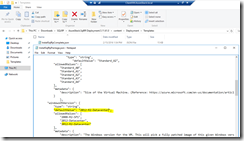
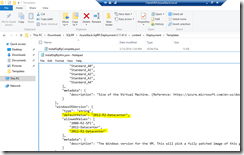
Have a look at the screenshots which parts have to be modified. They are all marked. The values have to be changed to the SKU we defined during the image upload before. In our example it has to be 2012-R2-Datacenter-35 instead of the default value 2012-R2-Datacenter. If you are using different values for the publisher and offer properties, then you have to change these values too.
When we are not modifying these values the SQL RP deployment will fail, because the deployment will pickup the default Windows Server 2012 R2 image without the .NET Framework 3.5.
For another solution have a look at the blog post written by my MVP buddy Mark Scholman.
-> https://azurestack.eu/2016/02/change-default-2012-r2-image-to-a-new-disk-with-netfx35/
The following links will guide you through the SQL RP deployment and I highly recommend to use the blog posts on azurestack.eu.
-> https://azure.microsoft.com/en-us/documentation/articles/azure-stack-sqlrp-deploy/
-> https://azurestack.eu/2016/02/enable-paas-sql-in-azure-stack-tp1-part-i/
-> https://azurestack.eu/2016/02/enable-paas-sql-in-azure-stack-tp1-part-ii/
